
An eyelash serum that’s Chemical-Free, costs less than 1/10th of the normal price and something that actually WORKS (Tried and Tested!)

How to make eyelash serum at home
P.S. This post by no means wishes to throw shades or deteriorate any brand/product. I love trying new brands, products and respect them all! Peace bro! LoL
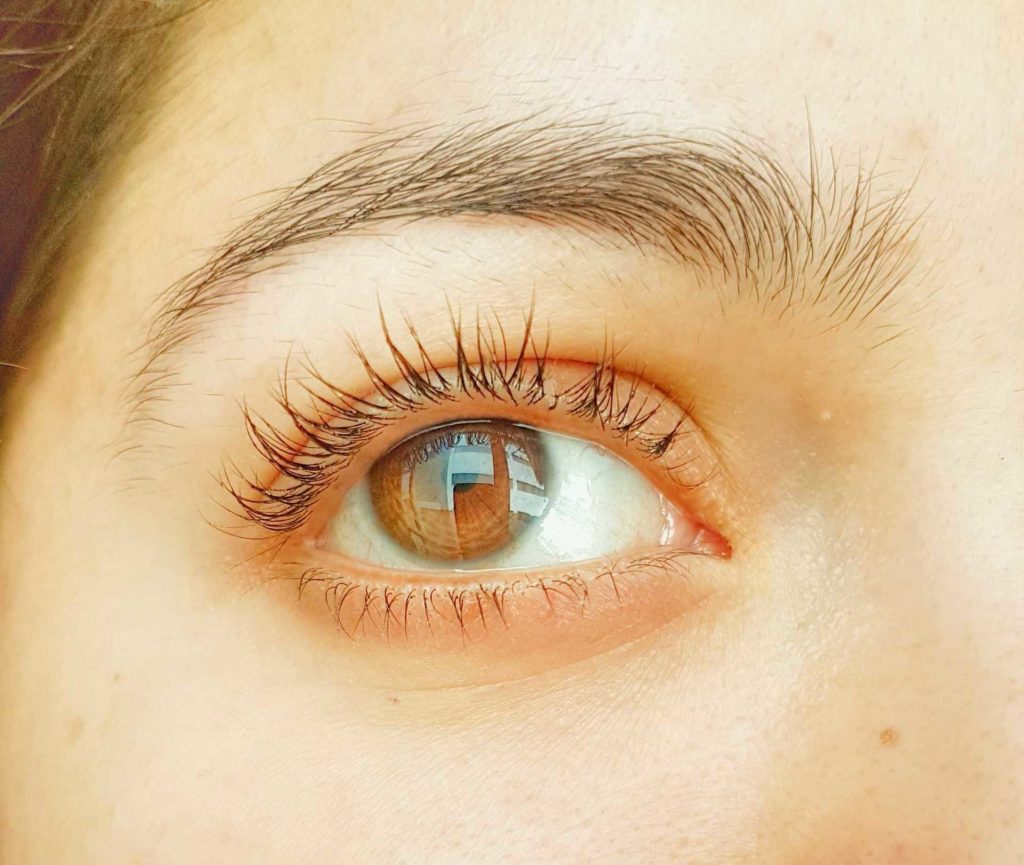
Everyone says, “Life is too short to have short lashes.” but then no one tells you how to get those long lashes (Not talking about the falsies here!) By the end of this post, I promise to spill the beans on to how to get those long dramatic lashes without burning a hole in your pocket! Yes, we are going to learn how to make eye lash serum for long/dramatic lashes at home.
Some of the things you will learn in this post:
- Why same products from different brands cost so much?
- Why make your own product?
- How to make a lash-serum that’s chemical-free, costs less than 1/10th of the price (In fact, it will cost you 1/100th of the cost! Yes!!) and a serum that actually WORKS (Tried and Tested!) (You’re welcome!)
Why same products from different brands cost so much?
Ever bought a product from a fancy brand and realised it does exactly the same thing that the product from your humble drug-store brand did (and costs you half the price!) Ouch! That hurts!
Picture this, you have been using this expensive product religiously and it DID NOTHING whereas you start using a home-remedy that your mama told you about and it WORKS LIKE A MIRACLE!
What I am trying to convey here is, we often feel that if a product costs a fortune it is bound to be amazing, whereas if you picked it up from a drug store, or perhaps you made it on your own it is not going to be that effective. Let me tell you, this NOT TRUE!
Lately, I started making my own (basic) products and my happiness knows no bounds! Not only I have the full control over the quality and ingredients, but I am also free to make a fresh batch as per my requirement. I play around with the ingredients according to what am I aiming at, there are no chemicals, no animal testing (A lot of testing on humans though! LoL) and yes they are a lot cheaper as compared to some of the “natural brands” available in the market.
I am not saying every product I made turned out to be perfect, many products went down the drain, many never saw the light of the day, but you learn from your mistakes, right?!
Why do products from so-called high-end brands cost effing so much?
Remember, when you’re buying something you are not only paying for the product but also for the company. It’s not just the cost of ingredients they have to cover but a whole heap of other expenses, as well, like, manufacturing, staff, marketing, certification and other business overheads, just to name a few. And of course, the business needs to make a healthy profit so that is added to the list as well!
Why make your own product when you can buy one?!
I know it is so tempting to buy all those products who claim to have miraculous effects and some even come with a guarantee! One look at the price tag and your heart begins to sink! It is not just the price but a number of facts that you need to pay attention to while selecting a product. All those nearly-impossible-to-pronounce ingredients that we pay no heed to.
Most commercial skincare products like to use a lot of oils/natural ingredients for marketing purposes. They are usually included at a very small percentage, often for marketing purposes rather than to offer much skin benefit. When you formulate and make your own products you can make them for a lot less (Read: WAYYYYY LESS, sometimes just a fraction of the price!) AND you could also increase the percentage of those exotic ingredients used, which means better and quicker results! (Yayy)
Talking about Cost-
It’s fascinating to calculate how much the product would cost you to make at home versus buying them from a high-end brand. I didn’t take into consideration the wastage of ingredients or any other overhead like time/equipment. These products are quick and easy to make and require minimal equipment or time.
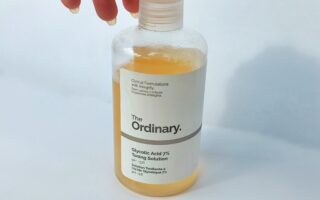
The costs of ingredients obviously vary from one supplier to another and from one country to another. The price I have calculated therefore would vary depending on which country you are in and supplier you use, but even allowing for this, you’ll see just how much cheaper it is when you make your own! Cost for a decent lash serum varies, it starts from 100 AED for 3-4 ml (35 USD approx) and goes up to 800 AED (217 USD approx). The cost of the serum I was using was for 255 AED (70 USD approx). The results were amazing, no doubt, but I was always worried about the ingredients, the side-effects, not to forget the cost, it was something that got me worried that most! LoL
Breakdown of Cost for our home-made serum for long lashes:
- Castor Oil (for 120 ml)- 40 AED (Buy it here)
- Vitamin E Oil (for 75 ml)- 80 AED (Buy it here)
- Re-used old mascara bottle- Free (Alternatively you can buy empty mascara container here)
Total- 120 AED ( 32 USD approx) for approx 195 ml of serum.
Using simple maths it comes to (approx) 24 AED for 4 ml of serum! *Mind blown away!*
Our serum will cost- Approx 24 AED ( 6.50 USD) for 4 ml
Normal Cost of serums- 250 AED (68 USD) for 4 ml
Now, How to make your own Lash Serum:
Well, the steps are ridiculously easy! However, pay attention to the cleanliness, storage and application part.
Things you’ll need-
- Castor Oil
- Vitamin E Oil
- Optional: Almond oil (Order it online here)
- Empty Mascara container (You may buy an empty container from Amazon, etc. Alternatively, you can clean and use the old mascara, remember to clean it properly so that no residue is left.)
Steps:
- Add Castor oil and Vitamin E oil in equal proportion.
- Use a dropper to add the oils to the mascara container.
- Shake it vigorously to ensure that the oil is mixed properly.
- Close the container and store.
How to use:
For best results, use this twice a day. You may use it before going to bed. Apply it like how you apply your mascara, starting from the root till the tip. Give attention to the roots, the lashes should be covered in the serum. However, don’t overdo it, you don’t want the serum to go inside your eyes! Wash with cold water if it does!
Visible results from second week itself. However, results may vary from person to person. Stop using it immediately in case of irritation or discomfort.
Storage:
Pay attention to cleanliness, don’t touch the brush with dirty hands (Who does that!) Don’t share it with anyone to avoid eye infection, diseases.
Learn more such awesome tips and tricks here!


I would like to point out my respect for your kindness giving support to those who need assistance.
Your special dedication to passing the solution up and down had been surprisingly powerful and have regularly helped those just like me to achieve their pursuits.
Your new invaluable suggestions indicate a great deal a person like me and additionally to my office colleagues.
Thank you; from all of us.